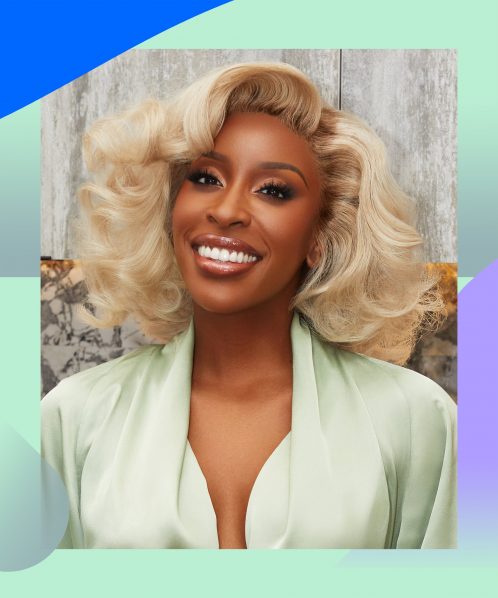
If you are new to makeup, you have probably tried plastering foundation all over your face, making sure that it covers every square inch. While we’re not saying that it is wrong, you will agree that a perfectly smooth look makes a lot of difference.
Insert magic trick; contouring. If you look closely at your face, you can tell that it is blessed with curves and edges that make your features even more pronounced; the projection of your cheekbones, the shape of your nose, the size of your jaw.
These are angles you can take advantage of to create the perfect, flawless makeup look. By sharpening or blending out these curves and edges, you give more depth to your base work and give your makeup more character.
There is more to contouring than slapping some dark shades here and there. First, let’s show you how to pick the right shade for contouring.
- Watch How The Light Falls
Contouring your face basically means creating artificial shadows to create an illusion of depth and sculpt that smooth little pebble into a work of art. The first step to making an ideal contour is to spend some time staring at your face. Watch how the light falls on your face, naturally.
Contouring, when used properly, can change the shape of your nose, make your face look slimmer, or adjust your face structure by an inch or two. The common areas where people apply a darker shade of foundation include just below your cheekbones, your temples, jaw, and sides of the nose. In each case, the purpose is different. If you have really sharp cheekbones, you may skip contouring under your cheekbones; this step makes your cheekbones more pronounced.
On the other hand, if you’re trying to go from a babyface to a fiercer, sexy look, you may dab on some extra dark shade just beneath your cheekbones. Just one or two shades after your foundation shade should do the trick. For beginners, work with a foundation just one shade darker, and get bolder as time flies.

- Red light, Blue light
People come in all shapes and sizes, and people also come in all shades. Of course, the first thing that comes to your mind when you hear the word shade is dark or fair. There is more to your skin than that. No matter your complexion, you fall into one of two categories; Warm-toned or Cool toned. Warm-toned people look better in red, pink, and orange colours, while cool-toned people look great in white and blue. If you have a natural inclination for gold jewellery, you most likely are warm-toned.
Knowing your skin tone will help you select a contour shade that is perfect for you. To discover your skin tone, examine the veins under your skin closely. If they appear blue or purple, you are cool-toned. If they are bluish, you are warm-toned. If you can’t tell if the veins are blue or green, then you are most likely neutral toned. In this case, you may use both warm and cool-toned makeup products.

- Use The Right Blending Tools
The right brush and brushing technique can make or break your contour. Remember, you are creating an illusion, not merely adding colours together. Applying a contour shouldn’t be done like applying an eyeshadow. If done properly, no one should be able to tell that it isn’t just the light hitting your face structures and creating such crafty shadows.
Blending a contour shade can also be tricky because you have made a mental map of where you should place each shade. Avoid blending out of those lines and scattering the balance between the shadows.
- What To Use
If you have been using only foundation to contour, it will interest you that there are numerous other products that you can use. Instead of buying an entire foundation bottle for those little parts of your face, you can get a powder contour palette or a cream contour palette.
These products can take some getting used to, especially because they give the shades different effects. Powder palettes have a smooth, matte finish that is great for oily skin types, while cream contour palettes do justice to dry skin, bring the depths and crevices to life and give you a warmer, fuller, more artistic look.
Conclusion
Make the most of your time! Contouring is not something you get right the first time you try but keep at it. You will learn more about your face structure and get hands-on experience about what kind of strokes and angling make your face look better.
Try out different methods of contouring and different contour placements; a little lower, a little higher, a little darker. Don’t give up until you find all the secret ingredients to a perfectly sculpted face beat.


